Add multi-factor authentication to a new device
If you change the phone or phone number that you have authentication associated with, make sure you don’t lock yourself out of your account before doing so.
First, enable multi-factor authentication on your new device or phone number. Then just disable the old number or device.
Sign in to a Microsoft 365 service, such as pilvi.omnia.fi or intra.omnia.fi.
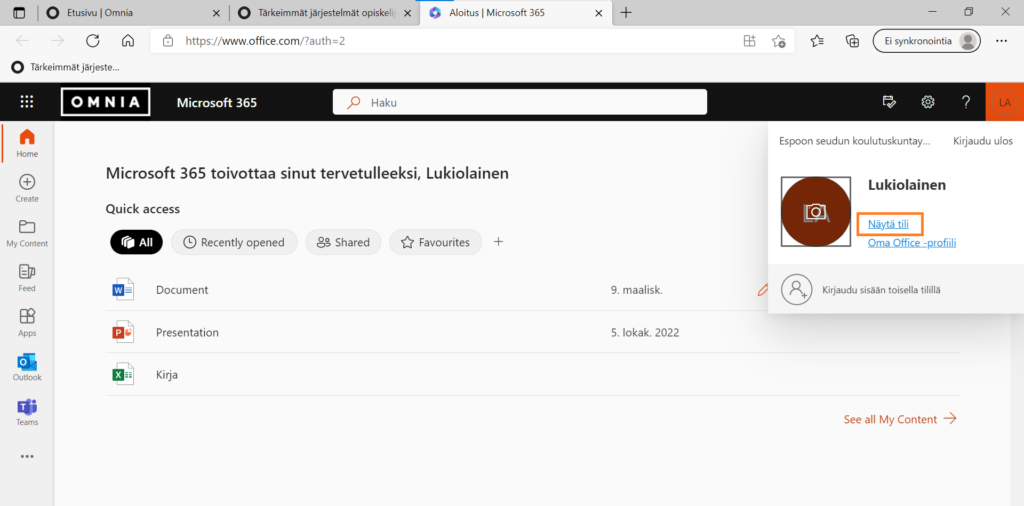
At the top right, click your profile picture. Then click Näytä tili.
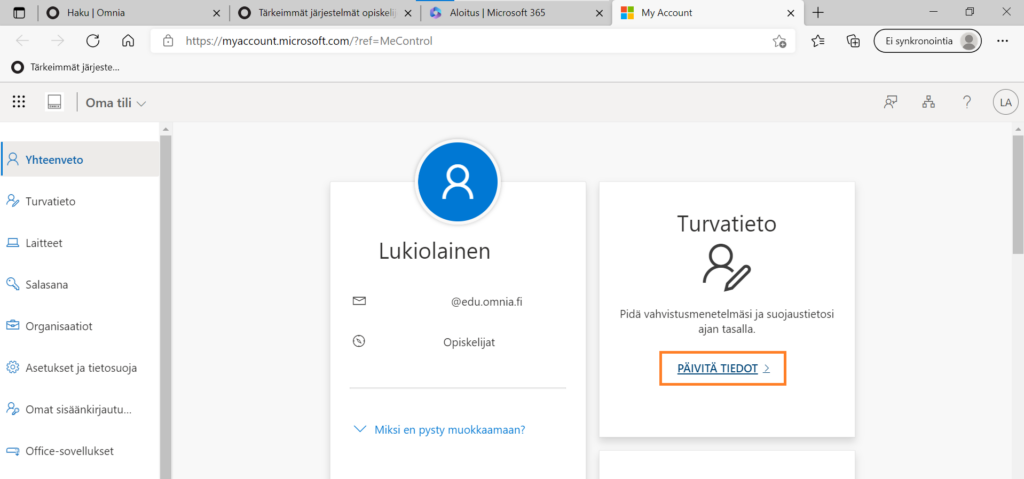
Click Päivitä tiedot.
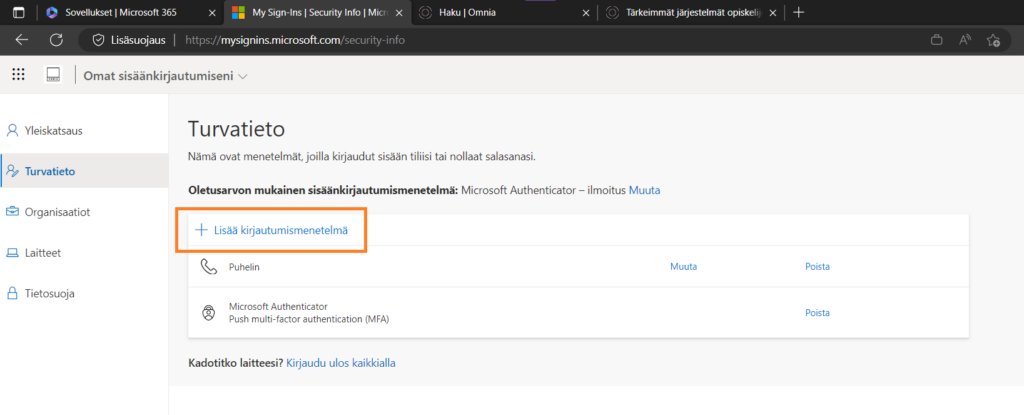
Click Lisää kirjautumismenetelmä.
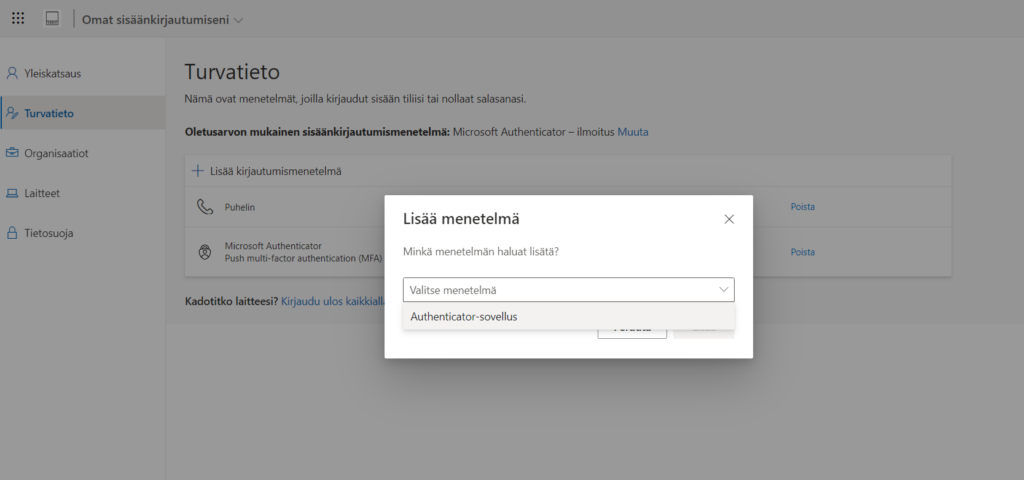
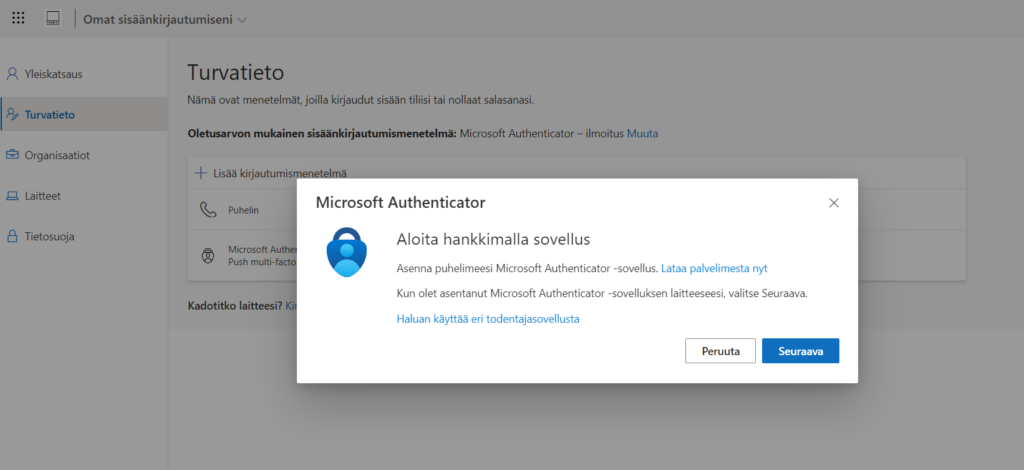
Select the Authenticator-sovellus from the drop-down list. Click Lisää.
Then you can follow the instructions on this page, depending on whether you are using an Android or Apple device: Multi-factor authentication.
Once you have successfully added a new device or phone number as a multi-factor authentication method, you can remove the old device or phone number by clicking the Poista-button next to it.
